Pre-dive check
Overview
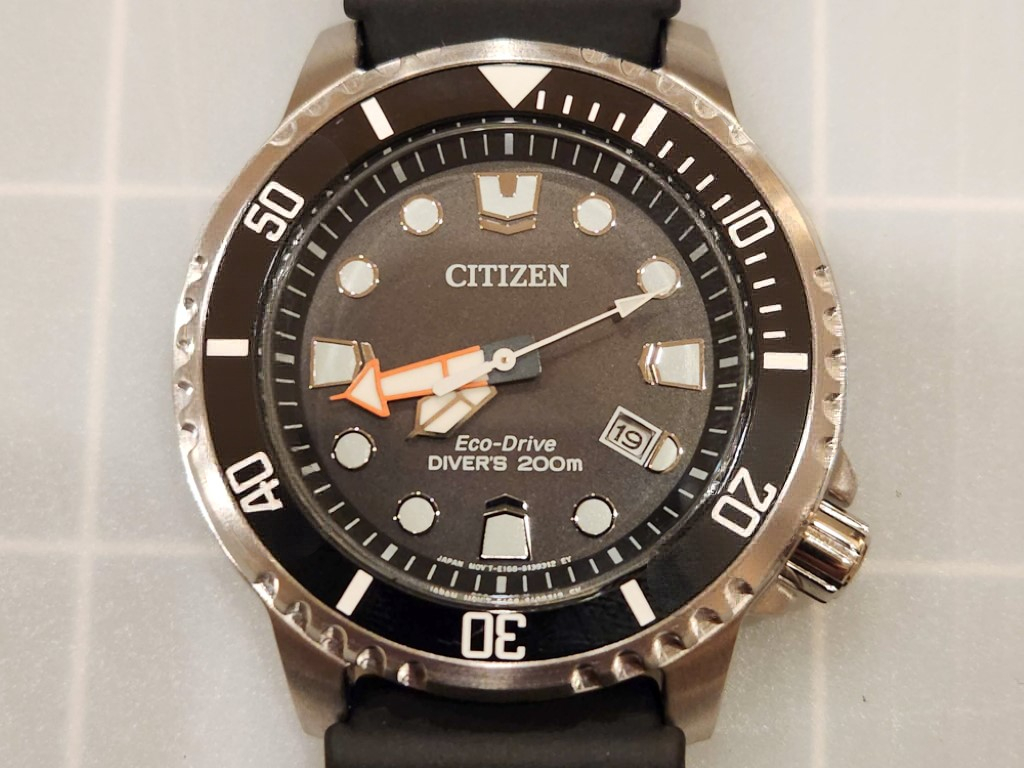
The Citizen Promaster BN0150 and BN0151 Dive watches are both compatible with SKX007 and SKX009 bezel inserts but need a spacer to compensate for the height differences. The spacer allows for a plug-and-play installation and ease of customization of the bezel inserts.
The reason an insert is necessary is because while the stock BN0150 bezel has the same outer and inner diameter, it is much thicker than the SKX007 and SKX009 Bezel inserts. If one was to try and use the SKX007 and SKX009 bezel inserts without a bezel spacer, the edge of the bezel would be much higher than the insert and the insert would come into contact with the watch crystal. This insert accounts for the crystal dimensions and provides the correct compensation for the height differential of the SKX007 and SKX009 Bezel inserts.
Step one
Bezel removal
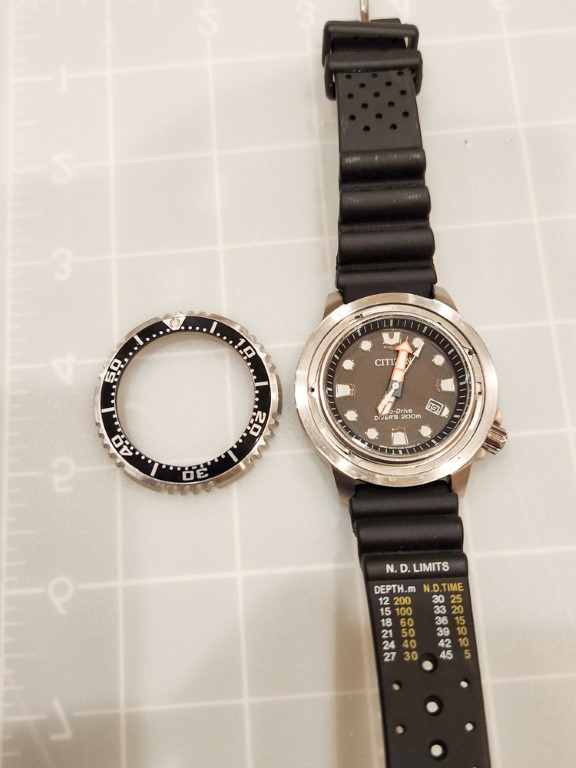
Remove existing bezel from the watch using a case back tool. Insert the case back blade in between bezel and case, apply pressure to lever the bezel upward, and it should pop off without excessive force.

Step two
Original bezel insert removal
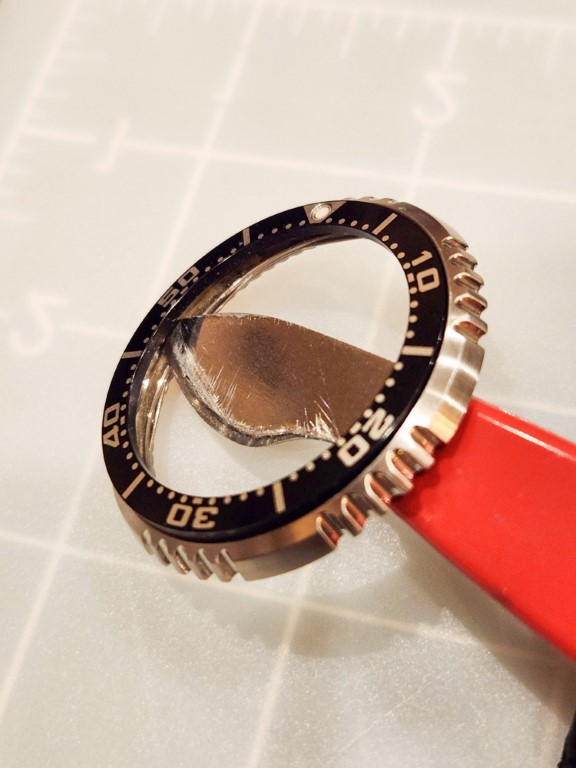
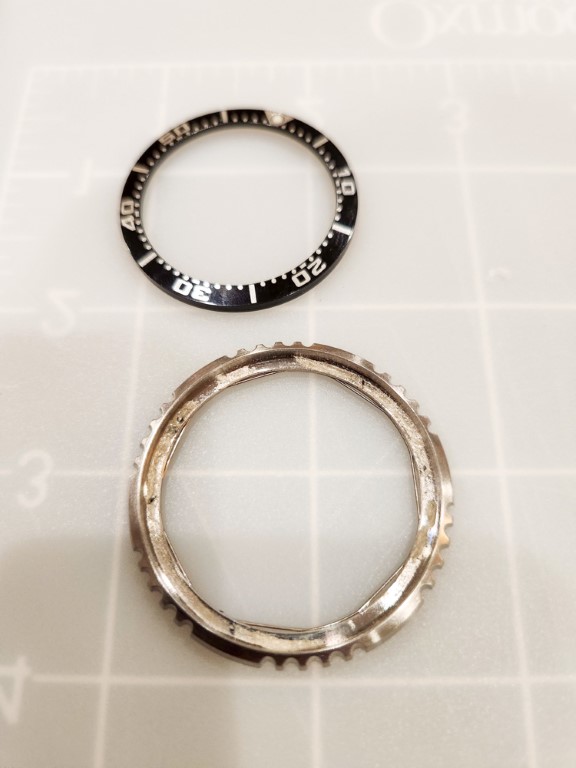
Once the Bezel is off, use the case back tool to lever and pry off the bezel insert from under the bezel so as not to scratch or damage the bezel or insert. You will notice some adhesive still on the bezel once insert is fully removed. Do not clean off original adhesive (unless you have an additional adhesive ring), but smooth out, flatten, and distribute any blobs/clumps so the bezel insert will sit flush and even.
Step three
Spacer test fitting
Bezel and insert test fit
Additionally, you may remove the ring clip from the interior of the bezel and do a test fit by placing the insert into the bezel, and then placing the SKX bezel insert on top of the bezel insert without any adhesive.
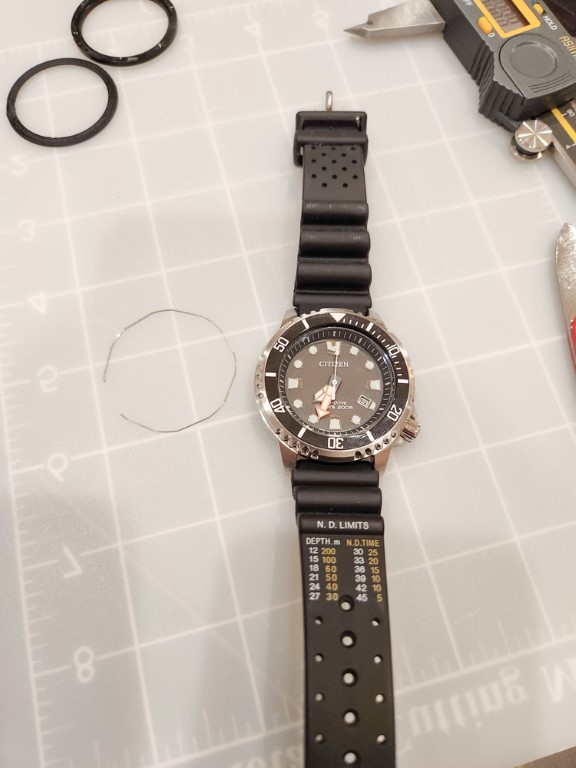
Turn the bezel and make sure everything spins free and clear.
Step four
Final assembly
Install the spring clip back into the bezel (if removed for the optional fit test in the previous step).
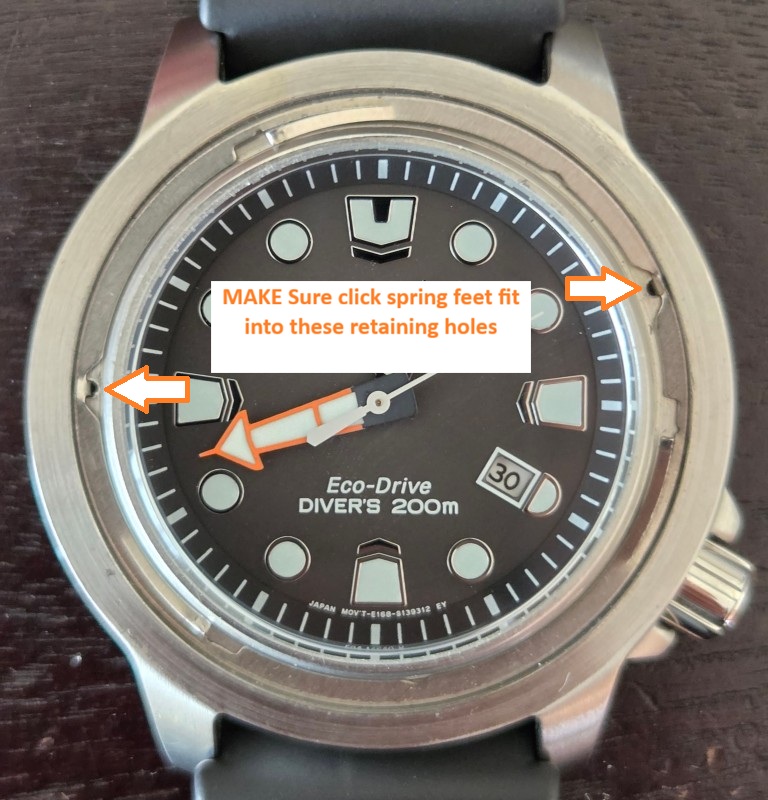
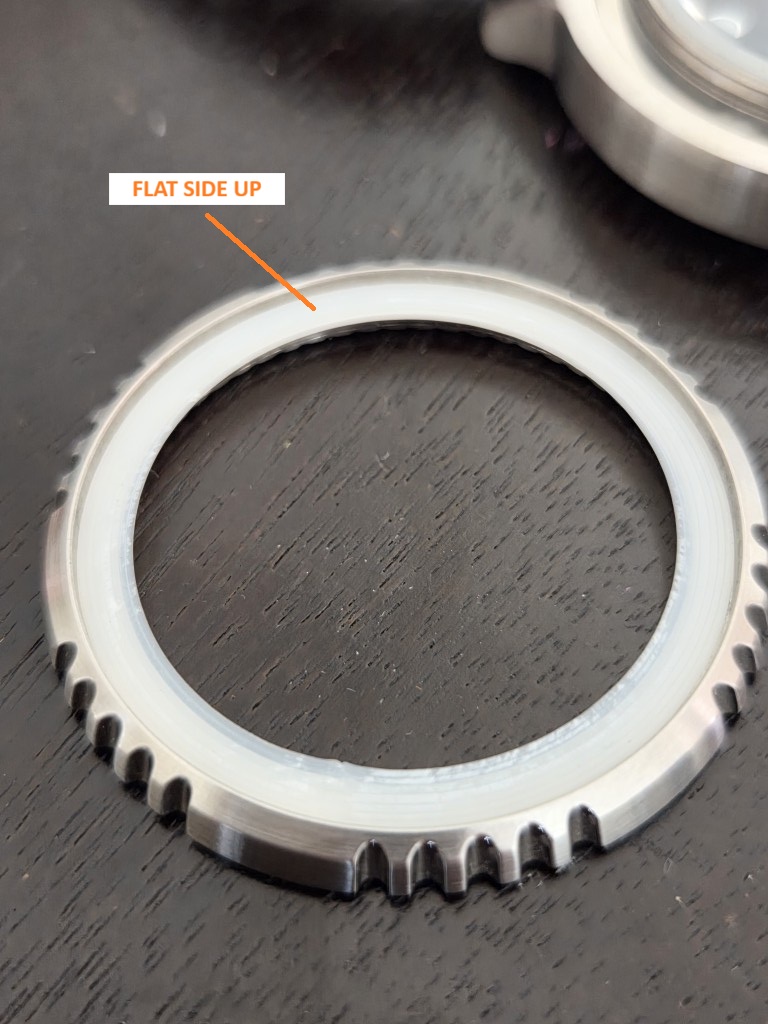
Install the bezel spacer into the watch bezel with the recession facing towards the posterior of the bezel (down, if it’s laying on a table), with NON-recessed flat side facing the anterior (up, if laying on a table) of the bezel (see spacer test fitting photo). Press spacer firmly onto the adhesive remaining within the bezel recession.
Gently push the bezel back onto the watch casing. It should snap back into place and be able to rotate freely (with the clicking noises). Rotate the bezel till the 12 o’clock hour marker is equidistant between the ribbed outer ridges of the bezel.
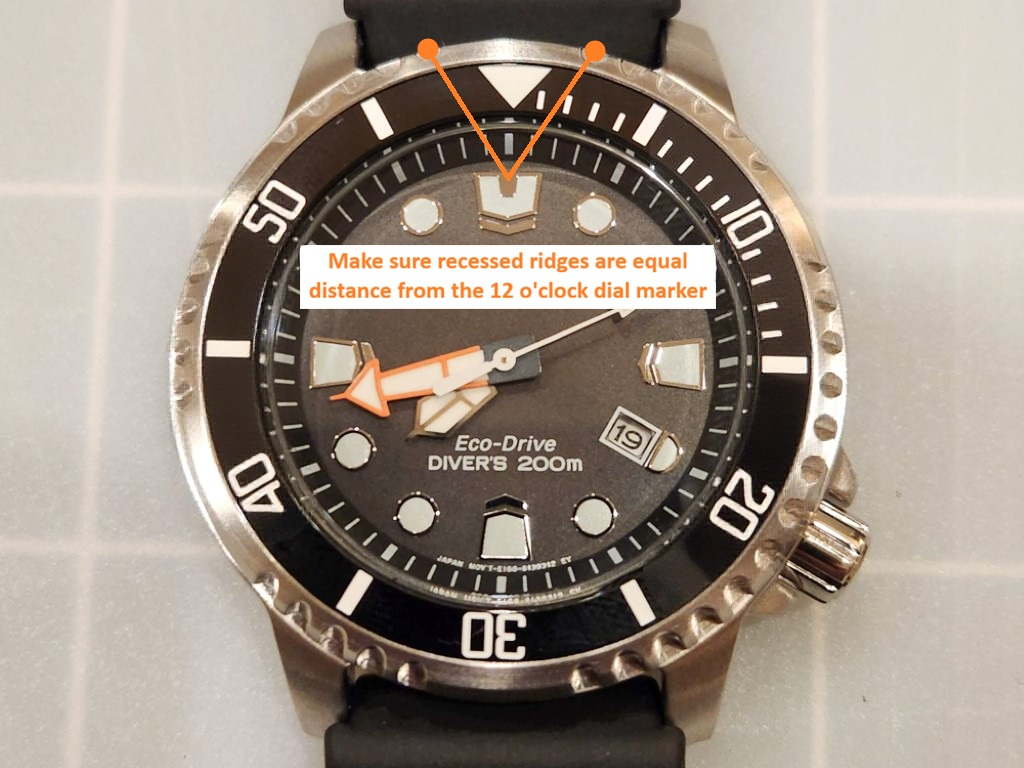
Apply the new adhesive onto the new SKX bezel insert, then carefully line up the markings on the insert with the hour markers on the watch dial. Once that’s done, apply firm downward pressure to adhere the SKX bezel insert onto the bezel spacer. The insert should fit flush with the top face of the glass and edge of the bezel.